Food photography at home: choose light and angle
Photograph real meals with deliberate light, useful camera angles and a simple check for believable colour and food texture.
ShotAgain editorial · 3 min read
Quick answer
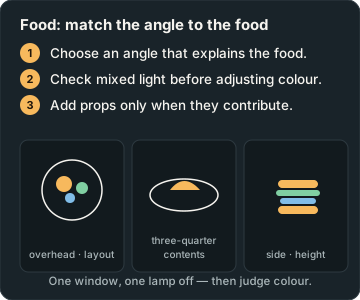
- Choose an angle that explains the food.
- Check mixed light before adjusting colour.
- Add props only when they contribute.
Choose the part of the dish that should make someone want to understand it: the layers in a sandwich, the surface of a bowl, or the texture of a crust. Then choose the camera angle that shows that part clearly. An overhead photograph and a low side view are different descriptions of the same food. Neither deserves to be the default for every meal.
Prepare before the plate arrives
Find your surface and background first. Remove items that do not help describe the dish. Keep a cloth nearby for the plate rim and leave yourself room to move safely. If the food changes quickly, decide the first angle before it is ready so that adjusting the camera does not consume the whole opportunity.
Adobe's food photography guide discusses planning, window light, household-light colour casts and building a composition gradually. Use those principles without assuming your everyday meal must resemble a styled advertising set. Photograph food as food; you do not need deceptive substitutes to practise observation.
Start with one main light
A window without direct sun on the plate gives you a manageable starting point. Put the plate beside it and look at the highlights and shadows. Rotate the plate if doing so helps reveal the texture you care about. The camera position can stay still while you inspect the effect with your eyes.
If a household lamp creates an unwanted second colour, try switching it off for one comparison. Only keep that change if enough light remains to photograph the dish clearly. Different light sources can complicate colour judgment, and an automatic white-balance setting may not resolve every combination. Avoid declaring exact food colour from a screen that has not been checked for that purpose.
Match the angle to the structure
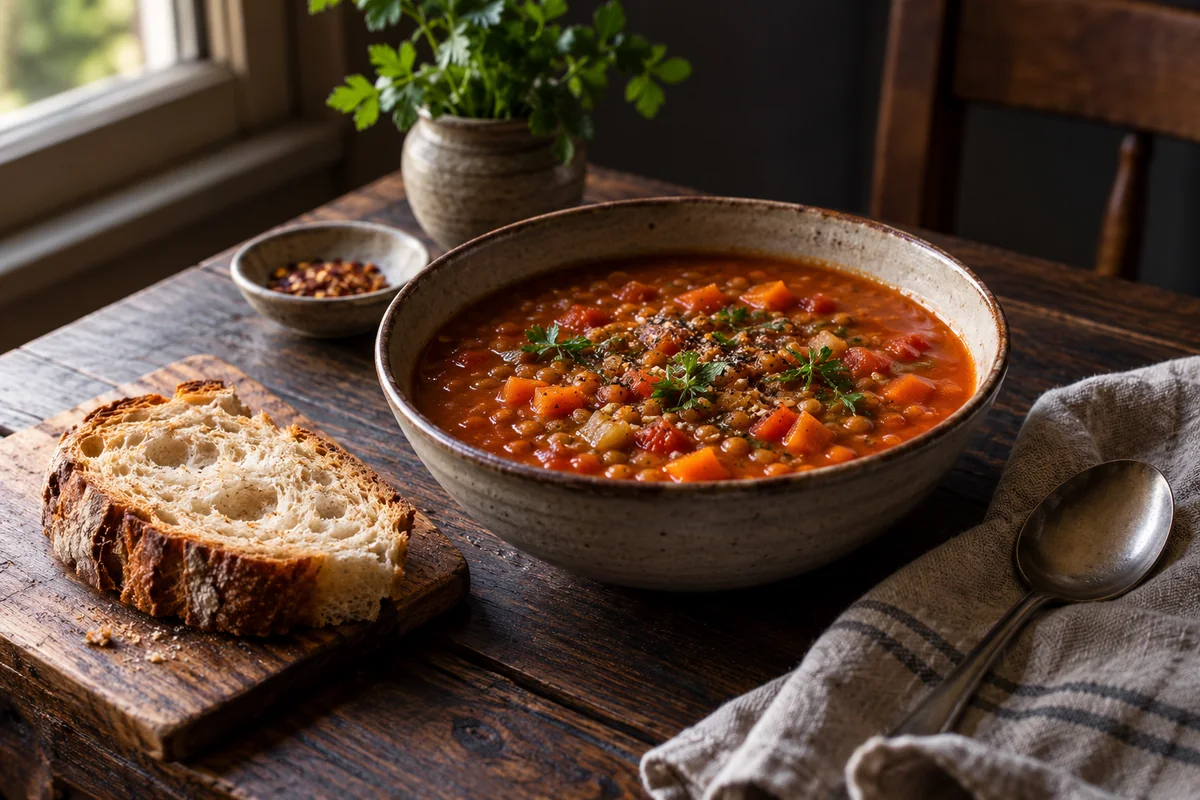
For a salad, pizza or arrangement of small dishes, try a view from above so you can see the layout. For a tall burger or layered slice, start closer to its side so the height remains visible. For a bowl, try an intermediate angle that shows both the contents and the container. These are useful experiments, not a fixed angle chart.
Check what disappears at each position. An overhead frame can hide a cake's layers; a low frame can hide what is inside a bowl. Keep your own shadow and the camera out of the main light path where possible. Support yourself securely rather than balancing on furniture to achieve a fashionable viewpoint.
Give the food a clear priority
Take one picture of the dish on its own before adding a napkin, utensil or ingredient. Introduce one prop and ask what it explains. If it does not help with scale, use or atmosphere, make a version without it. A fork pointing toward the food may help the composition, while a bright glass at the edge may pull attention away.
Select the part that needs focus: the cut surface, garnish or label, depending on the purpose. Review the saved image for both that detail and the surrounding food. Very shallow focus can isolate a detail beautifully or leave too little of the meal readable. Let the actual result decide whether to change distance, angle or aperture where available.
A two-angle exercise
Use one plate and take picture A from above, then picture B from a lower position. Keep the window, plate styling and intended brightness similar. Do not add garnish between frames. Compare which version explains the food's structure and which shows its surface texture. If the light changes while you work, record that limitation.
Now choose one picture for a recipe introduction and another for a close description of an ingredient. You may choose the same file twice, but give a reason. “I can see the layers” is a useful judgment; “the food score is higher” does not explain the choice. Keep your notes so the next meal begins with an informed decision.
Ask for feedback on your food photo. ShotAgain can discuss visible framing, light and possible distractions in text. It cannot establish flavour, freshness, temperature or food safety from an image, and the guide's editorial artwork is illustrative rather than a measured cooking result.
Try it: Compare two useful angles
- Keep one plate, light and styling.
- Make an overhead photograph and a lower view.
- Compare which explains surface, layers and height.
Record changes in light, exposure, viewpoint or subject movement; the pair is not proof of one isolated cause unless other conditions were controlled.
Sources
Put it into practice
Upload a real shot and get coaching on the decisions in it.