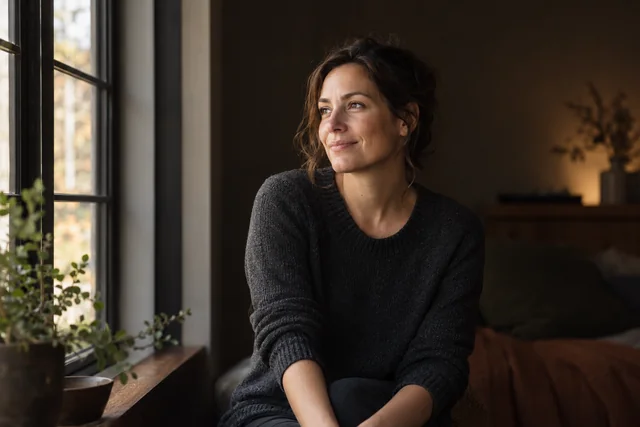
Window light photography: choose direction before settings
Learn to read window light, turn your subject, control shadows and compare two real photographs on a phone or camera.
ShotAgain editorial · 4 min read
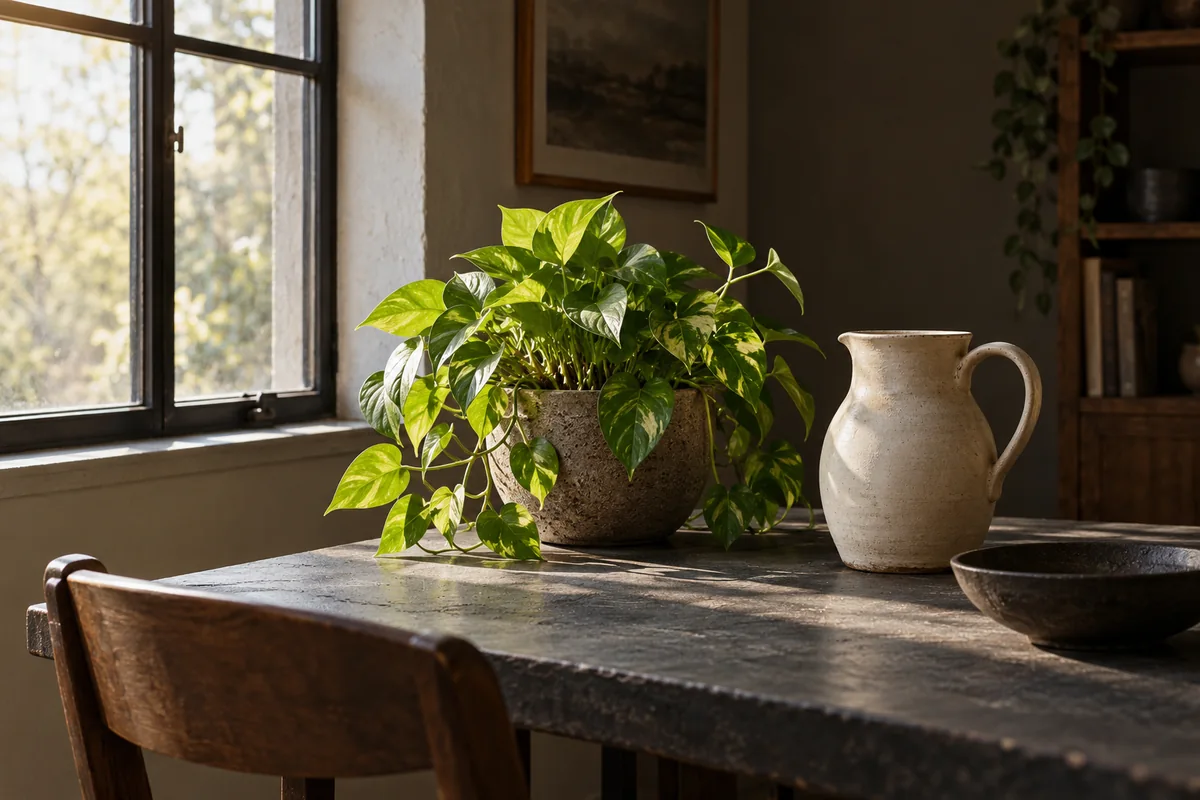
Quick answer
- Look at the shadow before changing settings.
- Test front and side light with the same subject.
- Choose the shadow that suits your purpose.
Start by looking at the shadow, rather than the camera settings. Put a simple object near a window, turn it a little, and watch which surfaces become bright. That small observation tells you more about the shape of the light than a borrowed exposure recipe. For a first attempt, choose a window without direct sun falling across the subject. A person, plant or ceramic cup will give you something clear to study.
Give the light a direction
In its window-light lesson, Sony demonstrates using a window and simple modifiers. Treat that as a starting setup, not a requirement to own a particular camera. Begin with the window roughly beside the subject. Photograph the bright side and shaded side together, then move yourself until the shadow becomes either gentler or more pronounced. Those are different looks, not successive quality levels.
Do not choose a window solely by its compass direction. The useful question is whether direct sunlight reaches the subject now. Latitude, season, hemisphere, buildings and weather all affect the answer. The north-facing recommendation often given in northern European tutorials is not a worldwide lighting rule. Look at the actual room.
Separate direction from brightness
Make a picture with the subject facing the window, then turn it partly away while keeping your camera position broadly similar. Compare where the shadow begins. A front-lit cup may describe its colour clearly; a side-lit cup may show its curve more strongly. For a person, explain the exercise first and let them choose a comfortable pose rather than holding a rigid angle.
If the shaded side feels too dark, place a piece of white card outside the frame on that side. Move it in and out while watching the subject. Keep the card only if the changed shadow suits the picture. Avoid treating every shadow as a problem: the edge of a shadow can be the thing that makes the subject readable.
Check the phone or camera after you move
Changing the arrangement may cause an automatic camera to choose a different exposure. On a phone, select your subject using the focus control your camera app provides, then inspect the preview. If brightness adjustment is available, make a small change and take another picture. On a camera, use the exposure controls you already understand rather than switching every setting at once.
A brighter preview is not automatically a better exposure. Look at the particular detail you care about: a white mug's rim, a cheek, or the folds in a pale shirt. If that detail disappears, try reducing the brightness or changing the setup. If a person moves and the image becomes soft, adding light or changing the timing may help more than another composition adjustment.
A two-picture exercise
Set a cup on a clear table and decide whether your aim is gentle colour or a strong sense of shape. Take picture A with the window more in front of the cup. Take picture B from a position where the light arrives from the side. Keep the cup, background and intended framing similar. Write down what you changed; do not invent an exposure value if the file does not record it.
View both at the same size. Ask where your eye lands first, whether the handle separates from the background, and whether the brightest part retains the detail you wanted. Pick one result for this purpose and explain why. If the camera also altered exposure, acknowledge that the comparison contains more than one change. You can repeat it with exposure locked if your equipment supports that control.
When to stop adjusting
You have a useful setup when you can name the light direction, identify the shadow you want and capture the necessary detail. More equipment is not the next compulsory step. Repeat the exercise with another subject or at another time of day, and record what actually changed. Window light is a practical way to learn observation, even when its appearance is different tomorrow.
Get feedback on your photo: upload one original for text coaching, or compare your two real attempts. Tell ShotAgain which lighting effect you wanted. Its interpretation is a second opinion, not a measurement of your taste.
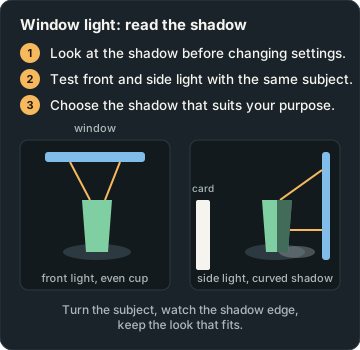
Try it: Compare light direction
- Keep one subject and background.
- Capture a more front-lit frame and a side-lit frame.
- Compare shadow, shape and important bright detail; note exposure changes.
Record changes in light, exposure, viewpoint or subject movement; the pair is not proof of one isolated cause unless other conditions were controlled.
Sources
- Top Tips: Window Light Portraits — Sony UK
Put it into practice
Upload a real shot and get coaching on the decisions in it.