Natural portrait photography: light, distance and eye focus
Make portraits with comfortable direction, deliberate backgrounds and a practical check for sharp eyes on phones and cameras.
ShotAgain editorial · 3 min read
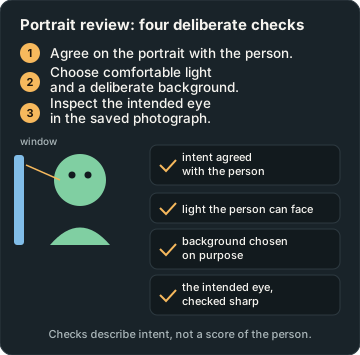
Quick answer
- Agree on the portrait with the person.
- Choose comfortable light and a deliberate background.
- Inspect the intended eye in the saved photograph.
Begin a portrait by agreeing what the person wants to communicate. A relaxed photograph for family, a close character study and a useful work profile need not look the same. Before thinking about lenses, tell your subject where the frame will end and give them a simple, comfortable action. You are photographing a person, not solving a face into a preferred set of proportions.
Make the situation easy to understand
Choose a place where you can talk without rushing. Explain one adjustment at a time: turn slightly toward the light, relax the shoulders, or look past the camera. Take a frame and show it if that helps you work together. Avoid a stream of instructions about features the subject has not asked you to change.
Adobe's portrait guide emphasizes connection with the subject and focus on the eyes. Those are useful starting priorities. Eye detail often matters in a conventional portrait, but a deliberately soft or obscured face can still be an artistic choice. Decide what the particular picture needs.
Find light the person can comfortably face
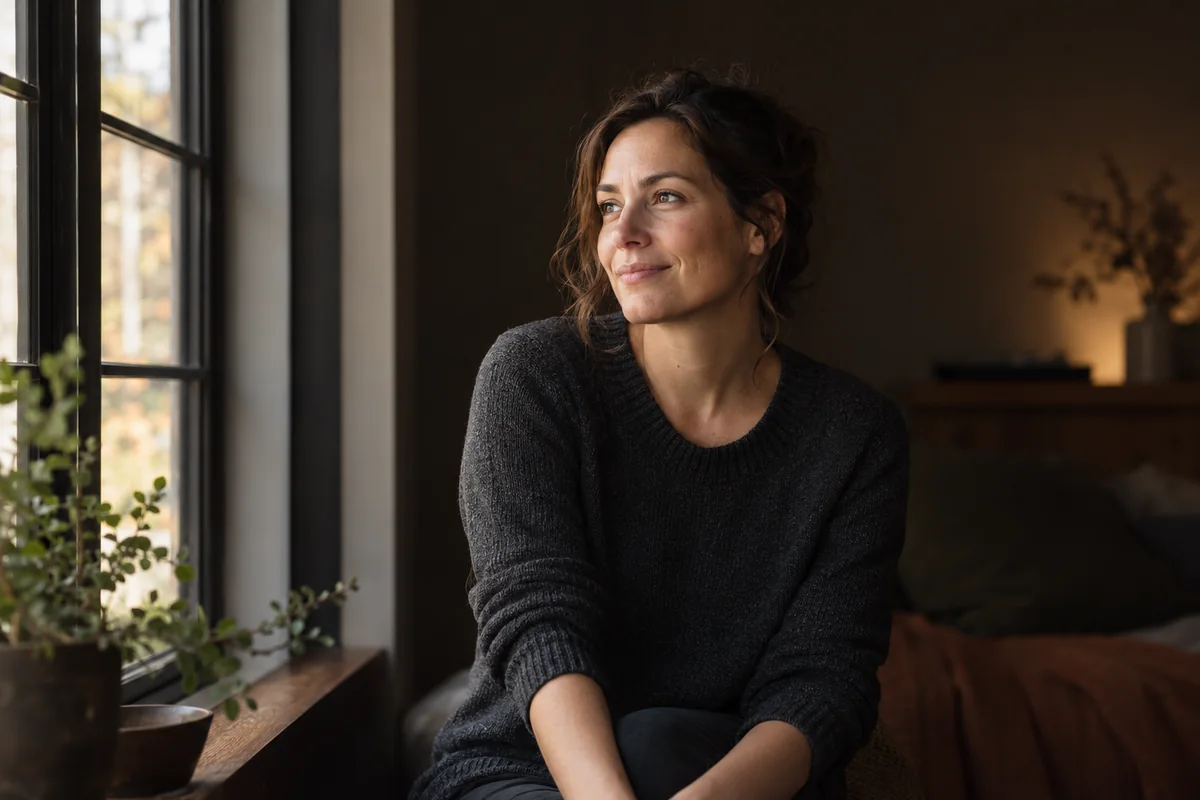
Try the edge of open shade or a window without direct sun falling into the person's eyes. Look at the shadow around the eyes and nose. Move a little, or ask for a small turn, and inspect how the expression and light work together. Do not require your subject to stare into a bright source to obtain a reflection in their eyes.
A dark background may separate a light shirt; a quieter patch behind the head may remove a distracting overlap. Check those relationships before asking the subject to hold still. For an environmental portrait, retain enough of the room or landscape to say why this person belongs there. Background blur is one option, not a compulsory portrait effect.
Choose your distance deliberately
Make a comfortable starting frame, then step back and compare another view. If you change lenses or phone camera modules, check the face and surroundings again. The position from which you photograph affects their relative appearance. Do not promise that a particular focal length flatters every person, or mistake a phone's software portrait effect for a measured optical result.
On a phone, try an ordinary photo alongside a portrait-mode version if available. Inspect hair, glasses and other fine edges in the actual captures. Choose the result that looks convincing and suits your purpose. On a camera, avoid opening the aperture as far as possible by default: make sure the important parts of the face are acceptably sharp.
Check the intended eye
Use the available focus selection or eye-detection control, then inspect the captured photograph. A focus box on a preview is not proof that the saved eye detail is clear. If the head is turned and the nearer eye is your intended point, check that specific eye rather than admiring a sharp shirt collar.
If both people in a portrait need to be sharp, arrange them with care and review both faces. A setting that works for one person may leave a second person soft. When the subject changes position, check again rather than assuming the earlier focus decision remains correct. If movement is the issue, use the blur guide to separate it from a focus miss.
Make a respectful two-frame exercise
Take picture A with the person in a comfortable starting position. For picture B, change only your position or their orientation to the light. Keep the expression and intended crop broadly similar, accepting that a person will not repeat a moment exactly. Ask them which photograph feels more like the portrait they wanted.
Compare eye clarity, background overlaps, the shape of the light and the feeling of the expression. If one picture is sharper but the other has the better moment, say so. A single score would hide that trade-off. Your next attempt might combine the clearer focus approach with the more comfortable interaction.
Get text coaching on your portrait or compare the two actual files. Tell ShotAgain the intended use and what you wanted to preserve. Its observations cannot establish a person's character, attractiveness or feelings, and they should not replace the subject's own preference.
Try it: Compare a small portrait decision
- Agree on the portrait and take a comfortable starting frame.
- Change one position or light-direction decision.
- Review eye clarity, background and expression with the person.
Record changes in light, exposure, viewpoint or subject movement; the pair is not proof of one isolated cause unless other conditions were controlled.
Sources
Put it into practice
Upload a real shot and get coaching on the decisions in it.